Essential Tools For Planning Your Website: Part 3 - Site Map
—Welcome to part 3 of the Essential Tools For Planning Your Website series. In part 1 we looked at personas, while part 2 covered the customer journey. It's a good idea to read these first as you'll need them when creating your site map.
This time round we will look at the site map, with wireframes, and style tiles to follow in parts 4 and 5.
Site Map

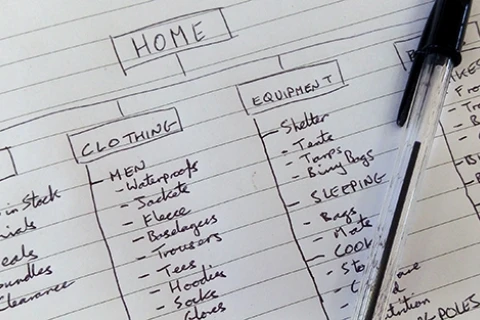
A low-tech solution to site map planning using pen and paper
By now you should have a very good understanding of your user and how they could move through your site. Now it is time to plan out all the sections of your site.
A site map is where you start to flesh out the details of the customer journeys you made in the previous step. It is a visual representation of a website’s structure. At first glance it may look similar to your customer journeys, but differs by showing how all the information on your site is organised. It can often contain information about the type of functionality needed to achieve the goals set out in your customer journeys.
Sitemaps are useful for many reasons and it’s at this stage that you really start to see the scope of the project.
- Site maps help you to identify all the website's sections and then scope out the details
- They make organising and categorising the content sections easier
- It becomes easier to spot duplicate or redundant content and remove it
- They make navigation planning easier, which benefits the end user’s experience
- Site maps help the developers building your website know what they are building and how sections relate to one another
- You can even ‘get ahead’ by starting to write content for sections based upon your site map
Do not be tempted to rush through this step when planning your site. Spending time to pin down an accurate site map now will save you time later when building your website. This is the foundation to the development of your website, so make sure it is strong and stable.
Need help with your digital strategy?
Get in touch — we'd love to hear about your project.
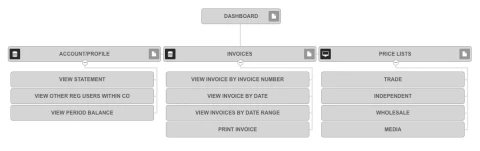
A simple site map made through Slickplan
Creating Site Maps
- Step 1 is the easiest. Simply write the word “Home” and you’re done. Although you will want to consider any functionality needed on this page and make a note of that too
- Next, write out the main section headings of your website. For example, a simple restaurant website may have “Menu”, “Drinks”, “Events”, “Location” and “Contact”
- Expand each heading to include all the different content pages your website needs. Our restaurant example may need “Starters”, “Mains” and “Desserts” under “Menu”. While under “Location” it may need a map, directions, and information about parking
- Continue to add any child pages to the site map until you have full view of your site’s structure and content
- Rationalise the site map by moving content into the most appropriate section. Sometimes redeveloping the sections can make the structure simpler too. Remove any redundant or duplicate content to make the site map simpler again
What You’ll Need
- The personas and customer journeys you created in the previous steps
- A list of content areas or sections to include in the site
- Pens, paper, post-it notes and a wall or board
- Or a tool such as Slickplan. If using pens and paper, a camera or a way to record your journey for future reference
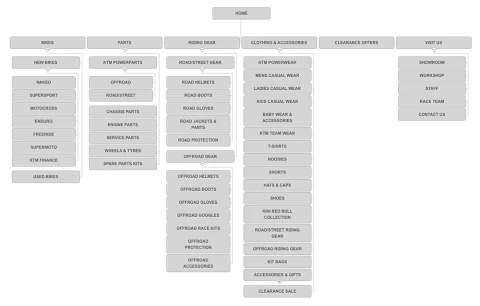
A detailed site map made through Slickplan
Next Up
The next tool we'll look at for planning your website is wireframing. We'll make use of your site map, customer journeys and personas, so keep these handy.